Service

Home
Service
Company SmartFactory Product Service IR
FAQ
Service Center Download Technical Support FAQ
Smart HMI
Smart HMI Smart SCADA Smart DEVICE Smart Factory Solution
We will do our best to satisfy our customers.
Service Center Download Technical Support FAQ
FAQ
Smart HMI
Q.
[XTOP] How to Remove Password and Delete Project Files
Product
A.
If a password is set on the XTOP device, it cannot be accessed or programmed via the software.
To reset the password and delete the project files, you must enter OS Download Mode or Boot Mode, depending on the device’s OS version.
 
[How to Enter OS Download Mode / Boot Mode]
1. Short Pin 2 (TX) and Pin 6 (RX) of the COM1 port using a clip or jumper, then power-cycle the device.
The screen will display [OS Download Mode/Boot Mode].
- For a 9-pin D-SUB COM1 connector : Short Pin 7 (TX) and Pin 8 (RX).
- For a 15-pin D-SUB COM1 connector : Short Pin 9 (RX) and Pin 10 (TX).
Once the screen switches to [OS Download Mode / BOOT Mode], remove the short.
 
* If the screen displays [OS Download Mode], the OS version is V3.1.
* If it displays [Boot Mode], the OS version is V4.8.
 
[For XTOP with OS Version V3.1 (OS Download Mode)]
1. Run XDesignerPlus V2.6 and go to [Transmission - Execute Transmitter] menu.
2. Click the [File Select] button and choose the file: 
[xtop rom2 v3.1(2015-07-20)ErasePRJ All Initialization.bin]. (Provided separately.)
 
3. Set the appropriate transfer channel (Ethernet / USB / Serial) based on your connection. Click [Transfer]. The OS file will be downloaded to the HMI device.
4. Once the transfer is complete, the device will automatically reset and return to factory default settings, including removal of the password and deletion of all project files.
5. After the menu screen appears, download the normal OS file from: [C:\Program Files (x86)\M2I Corp\XDesignerPlus\OS\xtop rom2 v3.1*.bin]
 
 
[For XTOP with OS Version V4.8 (Boot Mode)]
1. Run XDesignerPlus V4.8 and go to [Transmission - Execute Transmitter] menu.
2. In the top left, select [OS, FONT (PC -> HMI)].
3. Click [File Select] and choose the file: 
[OS0000_04080221_20180605_ErasePRJAllInitialize.bin] (Provided separately.)
 
4. Set the appropriate transfer channel (Ethernet / USB / Serial) based on your connection. Click [Transfer]. The OS file will be downloaded to the HMI device.
5. After the transfer completes, the HMI will automatically reset, delete all settings and project files, and return to factory defaults.
6. Once the menu appears, download the normal OS file from: [C:\Program Files (x86)\M2I Corp\XDesignerPlus4\OS\OS0000_0408*.bin]
 
Note:
For other series such as TOPR, RX, RW, RE, RH, initialization is done using a Recovery Disk.
is the problem solved? View More
Q.
[R Product] I Forgot My Password. What Should I Do? (Recovery Disk)
Product
A.
The R Series (TOPR / TOPRX / TOPRW / TOPRE / TOPRH) allows you to set an administrator password.
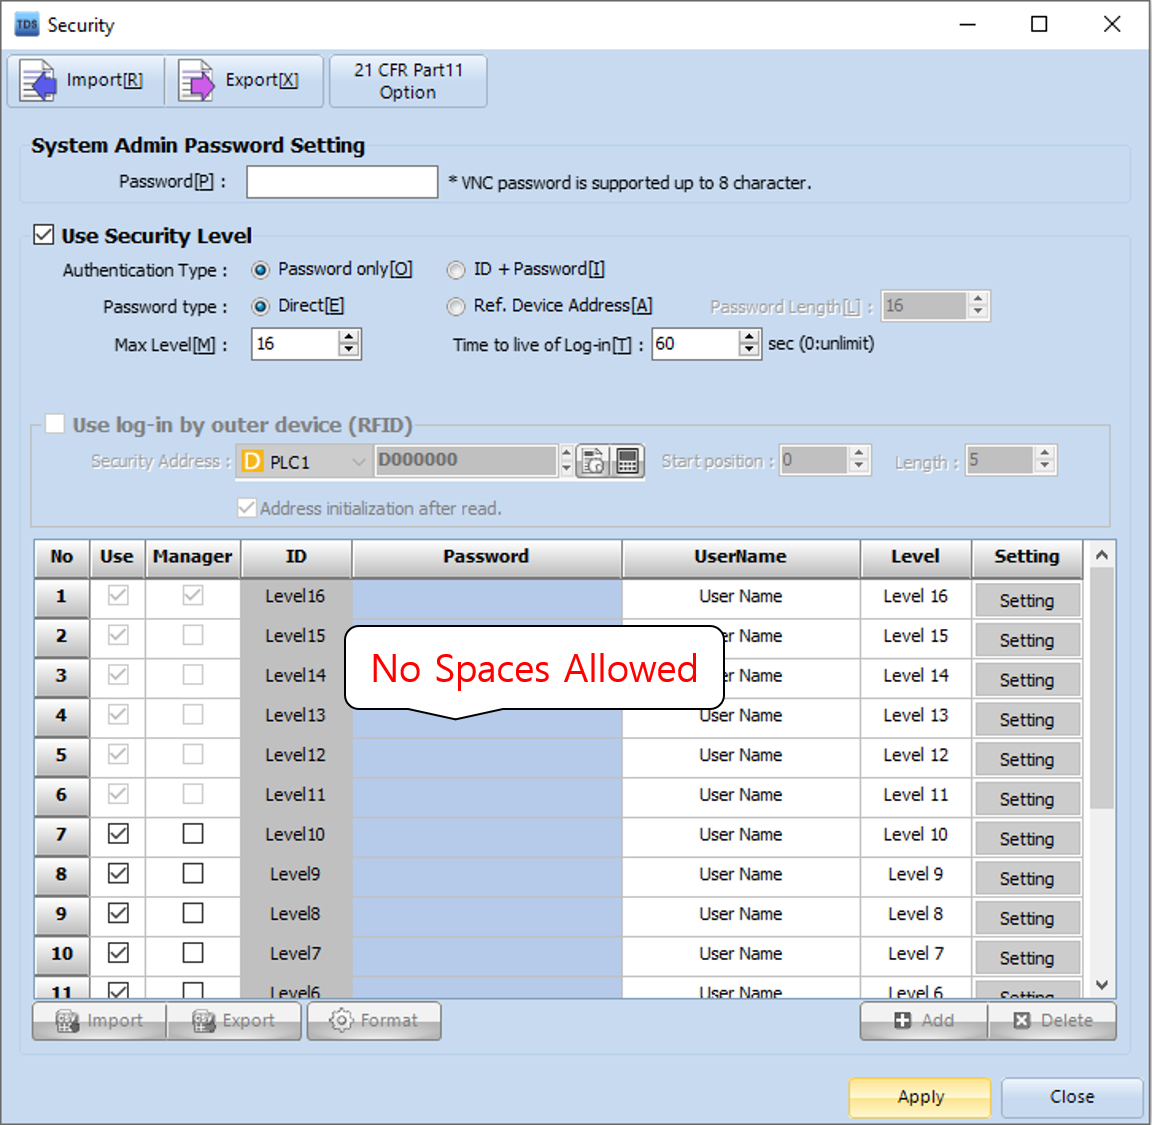
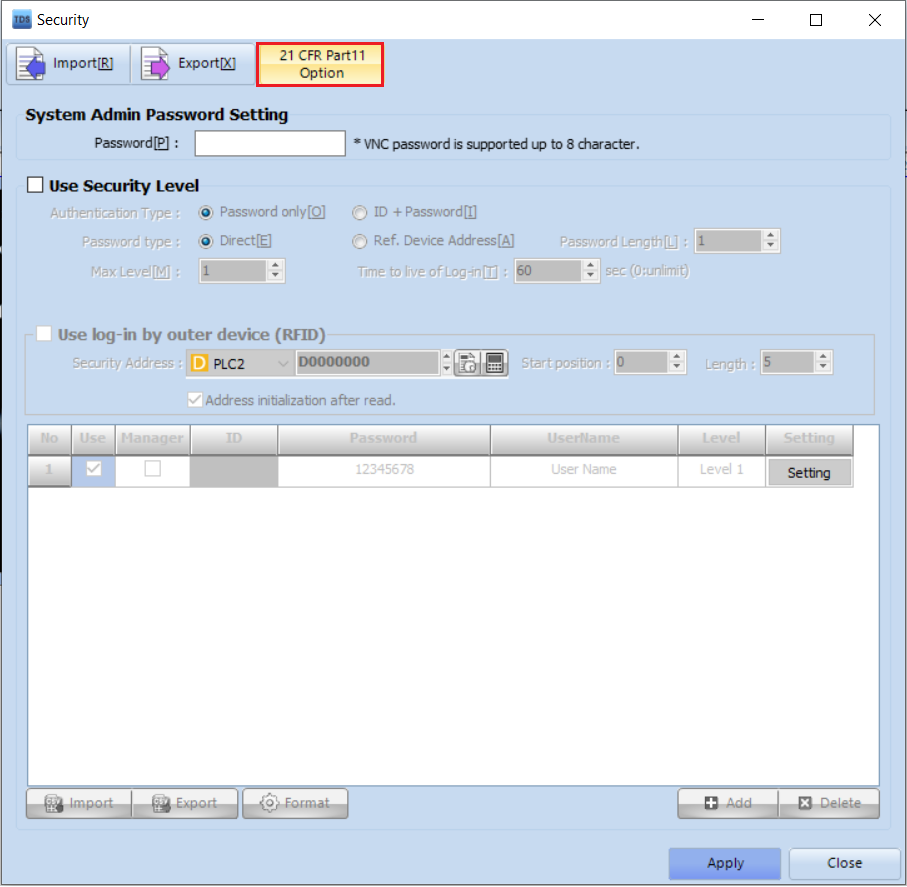
This can be configured via [Project] - [Security] in TOP Design Studio or directly on the device under [Control Panel] - [Security] from the menu screen.
 
This password is required to access the menu screen and to perform download/upload operations.
 
If the password is forgotten, there is no way to reset or retrieve it — not even through customer support.
The only solution is to create a recovery disk using an SD card in TDS and use it to reset the device.
Note: Performing recovery will erase all data on the device.
 
[How to Create a Recovery Disk]
1. Insert an SD card into your PC.
2. In TOP Design Studio, go to [Tool] - [Recovery Disk].


3. Select the SD card drive from the list, choose your product series, then click [Go].
→ This will generate the recovery disk.
 
 
[How to Perform Recovery]
1. Insert the SD card into the HMI device.
2. Set both DIP switches 1 and 2 (next to the SD slot) to the down position.
3. Recovery will begin when the device is power cycled.
 
You’ll see the message: "The system upgrade will take a few minutes. WARNING! Do not turn off the power."
After a few moments, the device will emit a continuous beeping sound (beep! beep! beep!) indicating that the recovery is complete.
 
4. Remove the SD card.
5. Return DIP switches 1 and 2 to the up position, then power cycle the device again.
 
You’ll be prompted with the touch calibration screen. 
Complete the calibration by pressing and holding each target area.
Once calibration is done, the menu screen will appear — at this point, re-download your project file.
 
Important Note:
When selecting the SD card drive in TDS, make sure you choose the correct drive. Selecting the wrong one may erase data from another drive on your PC.
is the problem solved? View More
Q.
[R Product] I Can’t Select Objects While Editing. (Lock Setting)
Product
A.
If you’re unable to select or edit objects on your screen during editing, it's likely because those objects are locked.
 
Locked objects cannot be edited.
This feature is useful when you want to prevent further changes to completed objects.
 
To lock or unlock an object, right-click the object and select [Lock] or [Unlock] from the context menu.
If multiple objects are locked, you can use [Unlock All] to release all locks at once.
 
 
Alternatively, after selecting an object, wait for about 2 seconds. 
A pushpin icon will appear at the top-left corner of the object. Clicking this icon will also toggle the lock status.
 
When an object is locked, it will be outlined with black dots, and the red pushpin icon will appear after 2 seconds.
Clicking the red icon will unlock it.
 
When unlocked, the object is editable.
Clicking the blue pushpin icon again will lock it.
is the problem solved? View More
Q.
[R Product] Can I Remove the Top Menu or Adjust Its Sensitivity?
Product
A.
You can adjust the sensitivity of the Top Menu that appears when you drag down from the top of the screen in the TOP operation mode. To do this, go to the Menu Screen on the TOP device.
 
From the menu screen, open the [Control Panel], then go to [System] - [Top Menu]. The following settings will be available:
 
1. Top Menu drag sensitivity :
You can set the sensitivity level from 5 (most sensitive) to 1 (least sensitive).
 
2. Drag from bottom up :
When this option is enabled (indicated by an "X"), dragging from the bottom of the screen upward will also display the Top Menu. If the box is empty, the feature is disabled.
 
3. Menu enable:
You can choose which buttons to display in the Top Menu. However, the [Exit] button (used to return to the menu screen) cannot be removed.
Therefore, the Top Menu itself cannot be completely disabled.
 
is the problem solved? View More
Q.
[R Product] Can I Change the Appearance of Multiple Buttons at Once?
Product
A.
Yes, you can change the properties of multiple objects of the same type at once by selecting them together and using the [Property Window].
To open the Window Property, go to [View] - [Property] from the top menu. It will appear as a Dock Window on the right. 
To keep it fixed, click the pushpin icon next to the [X] button, as shown below.
 
 
Simply drag to select multiple objects of the same type, then edit their properties in the Property Window — changes will be applied to all selected objects.
This is especially useful for batch-editing Button Images, Text Colors, and other visual attributes.
is the problem solved? View More
Q.
[R Product] Can PLC Communication Settings Be Configured in a TOP Project?
Product
A.
To enable communication between the TOP HMI and a PLC, a properly wired cable based on the correct wiring diagram must be connected, and the communication settings must be configured accurately.
These settings can be configured directly on the HMI’s menu screen or they can be configured in the TOP Design Studio's project file and transferred to the HMI device.
 
To configure communication settings in TOP Design Studio:
1. Open your project file in TOP Design Studio.
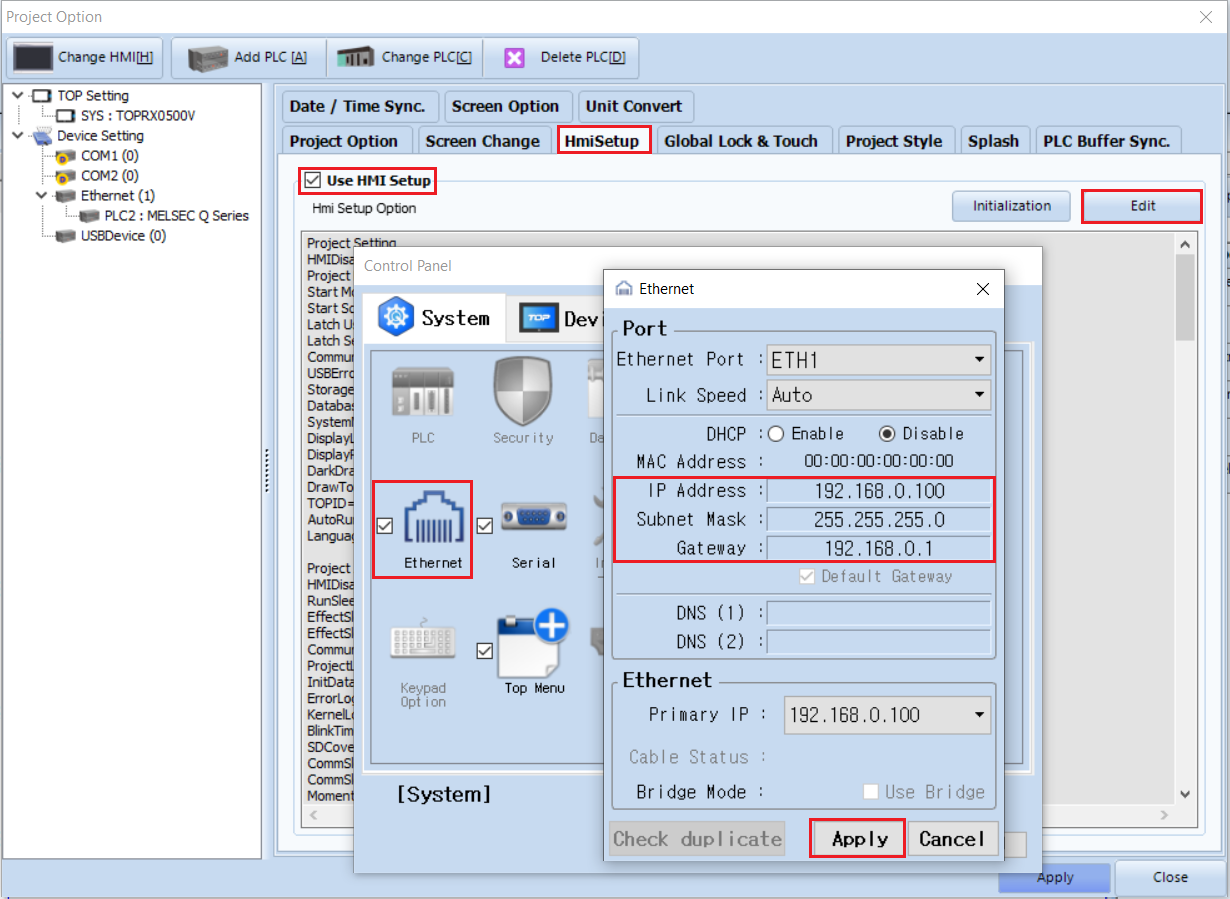
2. Go to the [Project] - [Property] menu at the top.
3. Select the [HmiSetup] tab on the top-right and check the [Use HMI Setup] option.
4. Click the [Edit] button to open the [Control Panel].
 
This control panel is identical to the one found on the TOP HMI’s menu screen.
If this option is enabled, the settings will be applied to the HMI when the project is downloaded.
 
 
After verifying the PLC’s communication parameters (e.g. Signal Level, Baud Rate, Data Bit, Stop Bit, and Parity Bit) and input the exact same values in the [Serial] screen.
Any mismatch between the PLC and HMI settings will cause communication failure (e.g., timeout errors).
 
If using the [HmiSetup] feature, you can also set the Start Mode (Menu/Run), Start Screen No, and Language under [Option] - [Project Setting].
 
 
is the problem solved? View More
Q.
How can I register my own images or text on the screen in [R Product] TOP Design Studio?
Product
A.
Registering Images
In TOP Design Studio, you can add your image files by inserting an [Object - Image] onto the screen.
After placing the image object, open its [Properties].
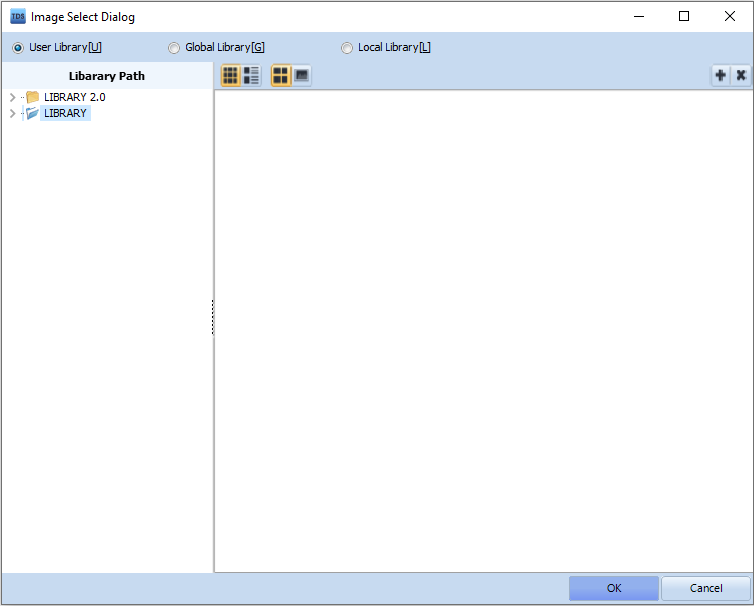
Click the button marked with a red rectangle to open the [Image Selection Dialog].
In the dialog, select [Local Library] and choose the image file from your PC to register it.
Alternatively, if you have an image open in Paint, Photoshop, or another editor, you can select it with Ctrl+A, copy it with Ctrl+C, and then paste it directly onto the TDS screen with Ctrl+V.
This will automatically create an image object with your image on the TDS screen.
 
Registering Text
If you have text in Notepad, Excel, or Word, select and copy it with Ctrl+C.
Then, paste it onto the TDS screen with Ctrl+V.
This will automatically create a text object with your copied text on the TDS screen.
If you need further details or step-by-step images, please let me know!
 
is the problem solved? View More
Q.
Where can I change the TOP model name in TOP Design Studio for [R Product]?
Software
A.
You can check the TOP model name in two places:
First, it is printed on the label on the back of the product.
Second, after powering on the product and entering the menu screen, the model name is displayed at the bottom left corner.
For instructions on how to access the menu screen, please refer to post #7 in the [Video Manual] section.
 
To change the model name in the TOP Design Studio software:
Go to the [Project] > [Properties] menu at the top.
The [Project Options] screen will appear.
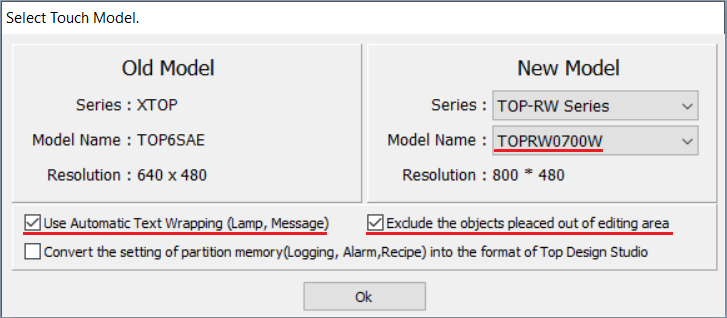
Click the first button at the top, [Change HMI], to open the [Select HMI] screen.
In the model selection area, first choose the series, then select the exact TOP model from the list below.
Click the [OK] button at the bottom to complete the change.
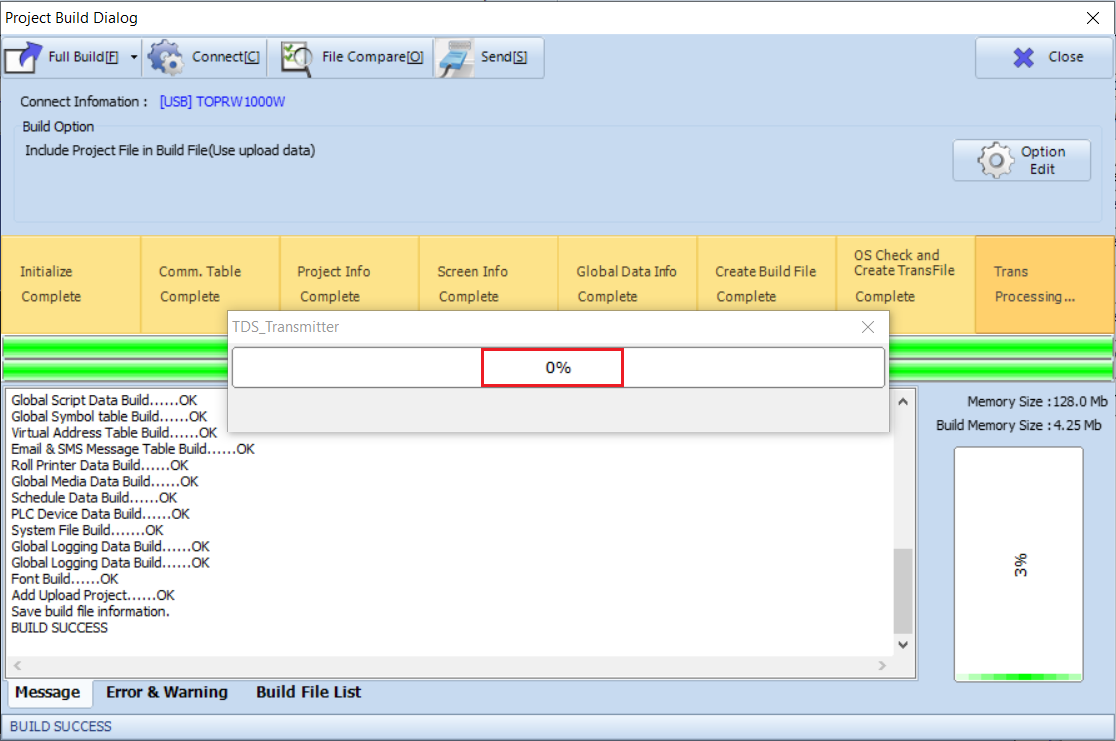
Transfer the project to the TOP device (Full Build & Transfer, F9) to apply and confirm the changes.
 
If you need further assistance, feel free to ask!
is the problem solved? View More
Q.
Is it possible to configure redundant communication by connecting two PLCs to the [R Product]?
Product
A.
Yes, you can configure redundant communication by connecting two PLCs to the [R Product].
In TOP Design Studio, go to the [Project] > [Properties] menu at the top.
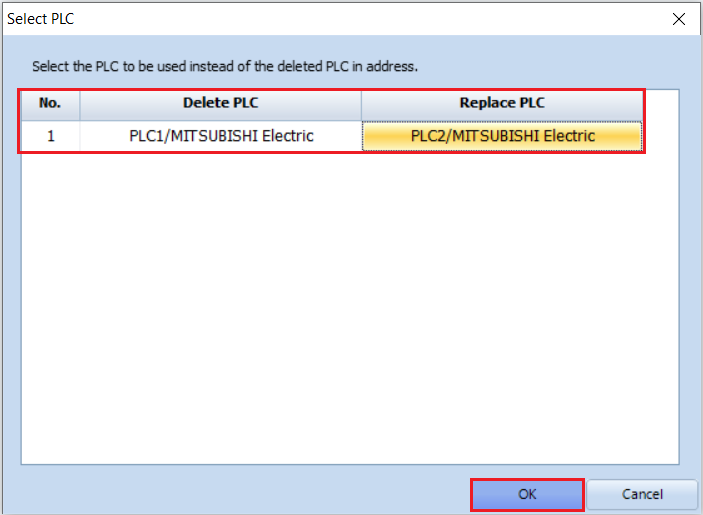
In the [Device Settings] section on the left, select the PLCs you want to use for redundancy.
On the right, you will see the [Enable Redundancy] checkbox.

Check [Enable Redundancy].
The Primary Option is for the settings of the first PLC.
The Secondary Option is for the settings of the second PLC.
With this configuration, if communication with the first PLC (Primary) is lost and a timeout occurs, the system will automatically switch to the second PLC (Secondary) after 5 seconds and continue communication.
 
By using the redundancy function, communication will be maintained even if the first PLC fails, as it will automatically switch to the second PLC.
When setting up redundancy, make sure that the communication parameters (such as Address Mode, Notation, etc.) for both the Primary and Secondary PLCs are the same. You can also configure the redundancy operation conditions (timeout, switching criteria, etc.) within the project.
 
is the problem solved? View More
Q.
I modified and transferred the screen design for [R Product], but communication is not working.
Product
A.
Since you are using the same PLC and the same communication cable, if communication does not work after transferring the project file (screen design), it is highly likely that the communication settings have changed.
 
Please check the following:
1. Check Communication Settings on the TOP Device
Go to the menu screen on the TOP and open the [Control Panel] menu.
If you are using serial communication with the PLC, enter the [Serial] menu and check the communication settings.
If you are using Ethernet communication with the PLC, enter the [Ethernet] menu and check the settings.
 
2. Check Communication Settings in the TOP Project
In TOP Design Studio (software), go to [Project] > [Properties].
The [Project Options] screen will appear. On the right, you will see the [HMI Settings] page.
If [Use HMI Settings] is checked, click the [Edit] button and review the settings in the [Serial] or [Ethernet] menus.
These settings will be applied to the [Control Panel] on the device when you transfer the project.
After confirming and correcting the communication settings, enter the [PLC] menu and perform a communication diagnosis to check whether the connection is successful.
is the problem solved? View More
1 2 3 4 5

This site is not supported by the current browser. Please download and use another browser below.